
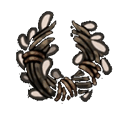
Blue1 slotAct 1
Wreath of Purity
Repels Muckmaggots, preventing Silk drain in Bilewater areas. Provides timed protection (~10 seconds) then breaks, requiring bench repair to reuse.
Best for
ExplorationDefenseUtility
Location
Putrified Ducts
Explore all Silksong Tools in one searchable database. Filter Red, Blue, and Yellow Tools, find locations, compare effects and damage, and add any Tool directly to your build.
Search, filter, compare, and slot the exact Tool you need without wading through a static admin-style table.
Repels Muckmaggots, preventing Silk drain in Bilewater areas. Provides timed protection (~10 seconds) then breaks, requiring bench repair to reuse.

At full health, Silk Skills cost 3 instead of 4 (25% savings). Lose the effect when you take damage; it returns when fully healed.
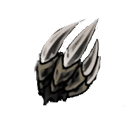
Extended claw for longer reach strikes. Increases Needle attack range by 20-30% for safer combat positioning.
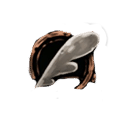
Increases Rosary drops by ~60% but causes you to lose 15-20% of current Rosaries when taking damage. Perfect for skilled farmers seeking maximum efficiency.

Accelerates passive Silk regeneration by +20-50% and adds +1 Silk Heart equivalent. Found in Weavenest Atla hidden area after defeating Moss Mothers.

Shields against one critical/lethal hit, then shatters. Provides +1 Mask Shard equivalent in health but breaks after one critical hit, requiring bench repair to restore.

Increases maximum Silk capacity by +3 segments. Stacks with Spool Fragments to reach important thresholds like two consecutive binds.
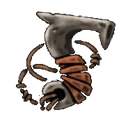
Powerful mending weave; faster binding at a cost.

Extra storage for materials and trinkets.

Expands and strengthens the effects of your Needolin tool, increasing its range and making it easier to trigger interactions with NPCs. Perfect for exploration and puzzle-solving.

Brew that slowly restores vitality.
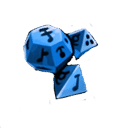
Lucky dice; modest boost to resource yields.
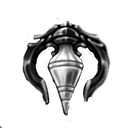
Stores multiple Bind charges for quicker recovery.
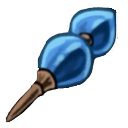
Advanced phial infused with volatile essence.
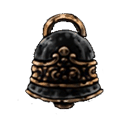
Provides a one-hit shield during Bind healing animation. Prevents damage and knocks back enemies in the wild, though the heal is still interrupted and silk is consumed.
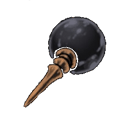
Phial for instant minor recovery.

Hardened barrier to block incoming attacks.

Charged filament that zaps nearby enemies.
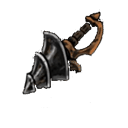
Downward spinning drill attack dealing piercing damage (~25-35 base) to enemies below while providing platforming utility.
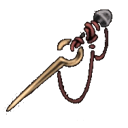
Weighted pin and haft formed to pierce tough shells.

Scatter short pins on the ground to harm stepping enemies.
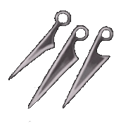
Flat, layered pin thrown as a set.

Summons flying cogwork companions that automatically seek and attack nearby enemies (~20-30 damage + poison DoT).
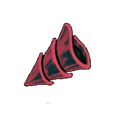
Spinning conch blade thrown forward and back.
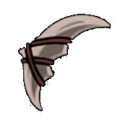
Arched sharpbone used to bring down flying prey.

Radial sharpbone for skilled hunters against dangerous prey.
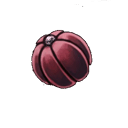
Explosive pouch that detonates on impact.
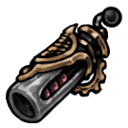
Fires a burst at the cost of Rosaries.
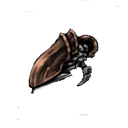
Slow, slug-like projectile repaired by Forge Daughter. Moderate damage with generous ammo for sustained routes.
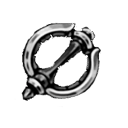
Deploy a wire snare that roots targets.
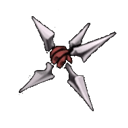
Lethal trap of tightly bound blades; pierces enemies who step on it.
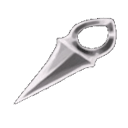
Light throwing tool designed for rapid attacks.

Hardened throwing ring that rebounds between enemies and surfaces.
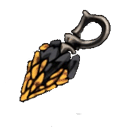
Temporarily super-heats the Needle—slashes ignite and deal +50% damage. Fire-imbued melee enhancement.

Marks your position on the map and reduces wayfinding time.
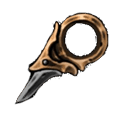
Enhanced climbing grip for tougher routes.
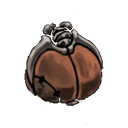
Retains more Rosaries after defeat.

Reveals threats and weak points; subtle warding effect.
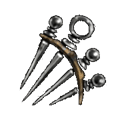
Improves bind efficiency; wastes less silk.

Pulls pickups from further away.

Lantern improves visibility and reveals routes.
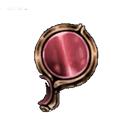
Reveals hidden paths or past echoes.
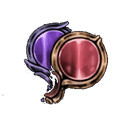
A set of mirrors enabling echo-based navigation.

Companion set of eyes heightening awareness.

Marks important NPCs and locations on the map.
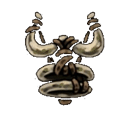
Faster tool use and recovery.

Regenerates silk slightly faster.
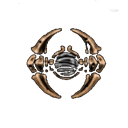
Reserve of silk for emergency binds.

Improves recoil/retreat control to reposition.
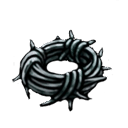
Barbed bracer adds chip damage on contact.

Bell that radiates heat, warding minor threats.

Crystallized memory used to attune certain devices.
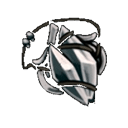
Pendant that glows near secrets.

Light anklets that increase sprint speed.
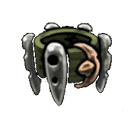
Increases poise; reduces knockback.
| Tool | Color | What It Does | Best For | Location | Act | Actions |
|---|---|---|---|---|---|---|
Wreath of Purity | Blue | Repels Muckmaggots, preventing Silk drain in Bilewater areas. Provides timed protection (~10 seconds) then breaks, requiring bench repair to reuse. | Exploration, Defense, Utility | Putrified Ducts | Act 1 | |
Egg of Flealia | Blue | At full health, Silk Skills cost 3 instead of 4 (25% savings). Lose the effect when you take damage; it returns when fully healed. | Exploration, Utility, Farming | The Marrow → Greymoor | Act 1 | |
Longclaw | Red | Extended claw for longer reach strikes. Increases Needle attack range by 20-30% for safer combat positioning. | Bosses, Defense, Utility | Putrefied Ducts | Act 2 | |
Thief's Mark | Yellow | Increases Rosary drops by ~60% but causes you to lose 15-20% of current Rosaries when taking damage. Perfect for skilled farmers seeking maximum efficiency. | Exploration, Defense, Farming | Blasted Steps | Act 1 | |
Weavelight | Blue | Accelerates passive Silk regeneration by +20-50% and adds +1 Silk Heart equivalent. Found in Weavenest Atla hidden area after defeating Moss Mothers. | Defense, Utility, Farming | Weavenest Atla | Act 1 | |
Fractured Mask | Blue | Shields against one critical/lethal hit, then shatters. Provides +1 Mask Shard equivalent in health but breaks after one critical hit, requiring bench repair to restore. | Defense, Utility, Early Game | Hunter's March | Act 1 | |
Spool Extender | Blue | Increases maximum Silk capacity by +3 segments. Stacks with Spool Fragments to reach important thresholds like two consecutive binds. | Defense, Utility, Farming | Songclave | Act 2 | |
Mending Thread | Blue | Powerful mending weave; faster binding at a cost. | Exploration, Defense, Utility | Cathedral | Act 3 | |
Shell Satchel | Yellow | Extra storage for materials and trinkets. | Utility, Farming | Weavers' Nook | Act 2 | |
Spider Strings | Yellow | Expands and strengthens the effects of your Needolin tool, increasing its range and making it easier to trigger interactions with NPCs. Perfect for exploration and puzzle-solving. | Exploration, Utility | Songclave | Act 2 | |
Flea Brew | Blue | Brew that slowly restores vitality. | Defense, Utility, Farming | Greymoor | Act 2 | |
Magnetite Dice | Yellow | Lucky dice; modest boost to resource yields. | Defense, Utility, Farming | Far Fields | Act 2 | |
Multibinder | Blue | Stores multiple Bind charges for quicker recovery. | Defense, Utility, Farming | Weavers’ Nook | Act 2 | |
Plasmium Phial | Red | Advanced phial infused with volatile essence. | Defense, Utility | High Halls | Act 3 | |
Warding Bell | Blue | Provides a one-hit shield during Bind healing animation. Prevents damage and knocks back enemies in the wild, though the heal is still interrupted and silk is consumed. | Defense, Utility, Early Game | Far Fields | Act 1 | |
Needle Phial | Red | Phial for instant minor recovery. | Defense, Utility, Farming | Shellwood | Act 2 |
Tools are equippable items that change how Hornet handles combat, survival, exploration, and resource management. Your Crest and available slots determine which combinations actually fit a build.
Active combat tools for damage, ranged pressure, traps, deployables, and alternate attacks.
Defensive and recovery-focused tools that make boss attempts safer and more consistent.
Utility, movement, and economy tools that shine during exploration, routing, and collection.
The strongest Tool is not just the one with the biggest isolated effect. It also has to fit your Crest slots, your route, and the role the rest of your build is already covering.
Best when you want extra damage, ranged pressure, deployables, or safer ways to punish bosses.
Browse All Red ToolsBlue tools usually support survival, while Yellow tools handle movement, economy, and route quality-of-life.
There is no single best Tool for every player. Strong picks depend on whether you are fighting bosses, exploring, farming, or simply trying to learn a difficult encounter.
Repels Muckmaggots, preventing Silk drain in Bilewater areas. Provides timed protection (~10 seconds) then breaks, requiring bench repair to reuse.
Repels Muckmaggots, preventing Silk drain in Bilewater areas. Provides timed protection (~10 seconds) then breaks, requiring bench repair to reuse.
Lethal trap of tightly bound blades; pierces enemies who step on it.
Charged filament that zaps nearby enemies.
Repels Muckmaggots, preventing Silk drain in Bilewater areas. Provides timed protection (~10 seconds) then breaks, requiring bench repair to reuse.
Repels Muckmaggots, preventing Silk drain in Bilewater areas. Provides timed protection (~10 seconds) then breaks, requiring bench repair to reuse.
Repels Muckmaggots, preventing Silk drain in Bilewater areas. Provides timed protection (~10 seconds) then breaks, requiring bench repair to reuse.
Repels Muckmaggots, preventing Silk drain in Bilewater areas. Provides timed protection (~10 seconds) then breaks, requiring bench repair to reuse.
Repels Muckmaggots, preventing Silk drain in Bilewater areas. Provides timed protection (~10 seconds) then breaks, requiring bench repair to reuse.
Treat these tiers as a fast read of role coverage and overall impact, not as a universal truth. A Tool can be excellent in one Crest setup and awkward in another.
Early game value comes from simple effects that solve immediate problems without demanding a specialized late-game setup.
Light throwing tool designed for rapid attacks.
Scatter short pins on the ground to harm stepping enemies.
Downward spinning drill attack dealing piercing damage (~25-35 base) to enemies below while providing platforming utility.
Shields against one critical/lethal hit, then shatters. Provides +1 Mask Shard equivalent in health but breaks after one critical hit, requiring bench repair to restore.
Raw damage numbers are still being verified, so this page separates practical damage ranking from unconfirmed numerical values. Higher listed power does not always mean better in a real fight.
| Tool | Damage Rating | Base Damage | Upgraded Damage | Notes |
|---|---|---|---|---|
| Volt Filament | 4 / 5 | Unknown / Testing | Unknown / Testing | Unknown / Testing |
| Threefold Pin | 4 / 5 | Unknown / Testing | Unknown / Testing | Unknown / Testing |
| Longpin | 3 / 5 | Unknown / Testing | Unknown / Testing | Unknown / Testing |
| Sting Shard | 3 / 5 | Unknown / Testing | Unknown / Testing | Unknown / Testing |
| Curveclaw | 3 / 5 | Unknown / Testing | Unknown / Testing | Unknown / Testing |
| Tacks | 3 / 5 | Unknown / Testing | Unknown / Testing | Unknown / Testing |
Not every Tool should be treated as a fixed item with one permanent power level. When judging a Tool, ask whether its effect changes, whether its practical output improves, and whether your current slot capacity can even support it.
12 tools first become obtainable or practical during Act 1.
34 tools first become obtainable or practical during Act 2.
9 tools first become obtainable or practical during Act 3.
A Tool can be excellent on paper and still be awkward in a real build if your Crest slots are tight, another Tool already covers the same role, or your current route values exploration more than raw damage.
Finding more Tools does not mean you can equip all of them at once. Your current Crest, slot colors, and pouch progression all decide which combinations are realistic.
Knowing what a Tool does is only half the decision. The real question is what happens when you combine it with the rest of your loadout.
Fast answers for players comparing tools, routes, and loadouts.
Keep moving inside the site instead of bouncing back to Google.
Create and test Tool and Crest combinations before you commit to a setup.
Open Build PlannerGet your bearings if you are still learning the game’s systems and pacing.
Read Beginner Guide